 Flight summary
 User notes
Youtube video
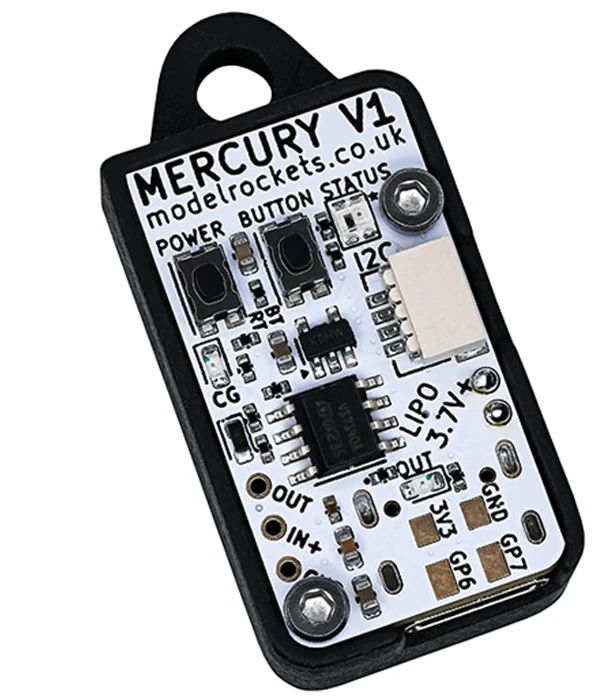
Device information
User notes
Youtube video
Device information
 Motor burn
 Flight settings
 Output settings

 Dashboard
 Device: M-N79-915C
 Flight ID: 318